When it comes to making music, producing audio, or mixing tracks, it’s important to have accurate sound. One thing that people often forget about is adjusting the studio monitor stands. These stands help position your studio monitors in the right way for the best listening experience. In this guide, we’ll talk about why adjusting studio monitor stands is important and give you step-by-step instructions with helpful pictures.
Contents
- 1 Why Proper Adjustment Matters:
- 2 Step 1: Finding the Best Listening Position
- 3 Step 2: Making Sure the Tweeters are at the Right Height
- 4 Step 3: Using Isolation Pads to Reduce Noise
- 5 Step 4: Adjusting the Angle of the Monitors
- 6 Step 5: Keeping the Monitors Away from Walls
- 7 Step 6: Making Your Room Sound Better
- 8 Extra Tips to Make Your Setup Even Better
Why Proper Adjustment Matters:
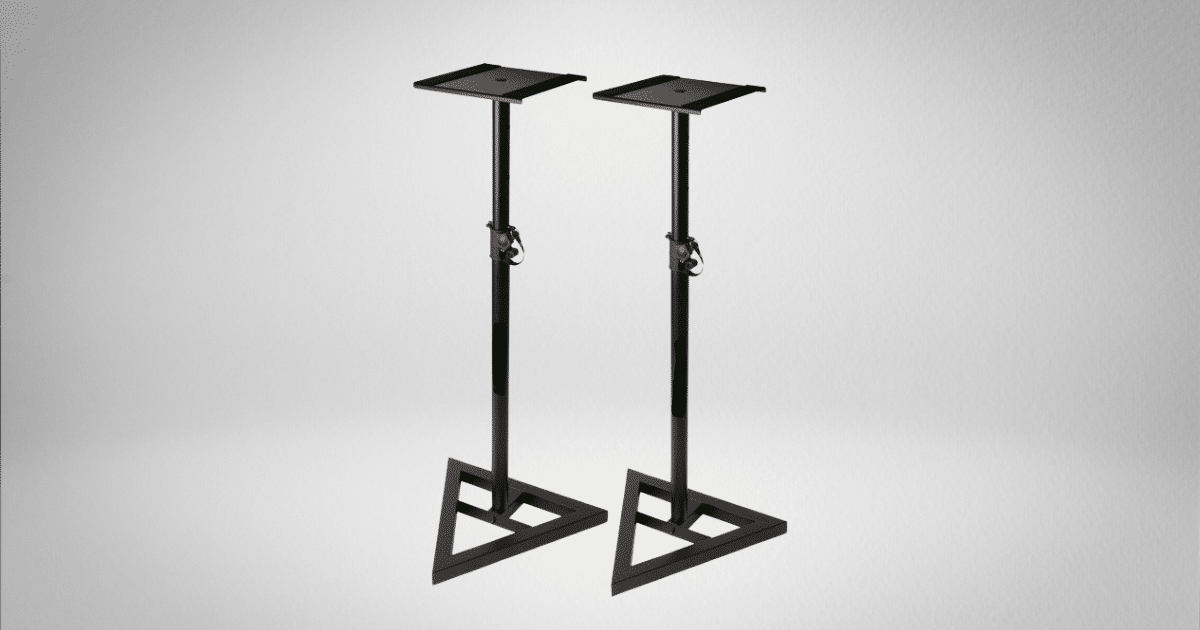
Studio monitor stands do more than just hold your monitors; they also affect how sound waves reach your ears. If your monitors are not positioned correctly, it can mess up the way your music sounds. This can lead to problems with the different sounds in your music and make it sound weird. To make sure your music sounds good on different speakers, it’s important to take the time to adjust your studio monitor stands.
Step 1: Finding the Best Listening Position
The first step to getting a great mix is finding the best spot to listen to your music. This spot is called the “sweet spot.” It’s where you can hear everything in your music the best. The size of your room and where you work in it will help you find the sweet spot. You want to make a triangle shape with your head and the monitors, so everything is balanced.

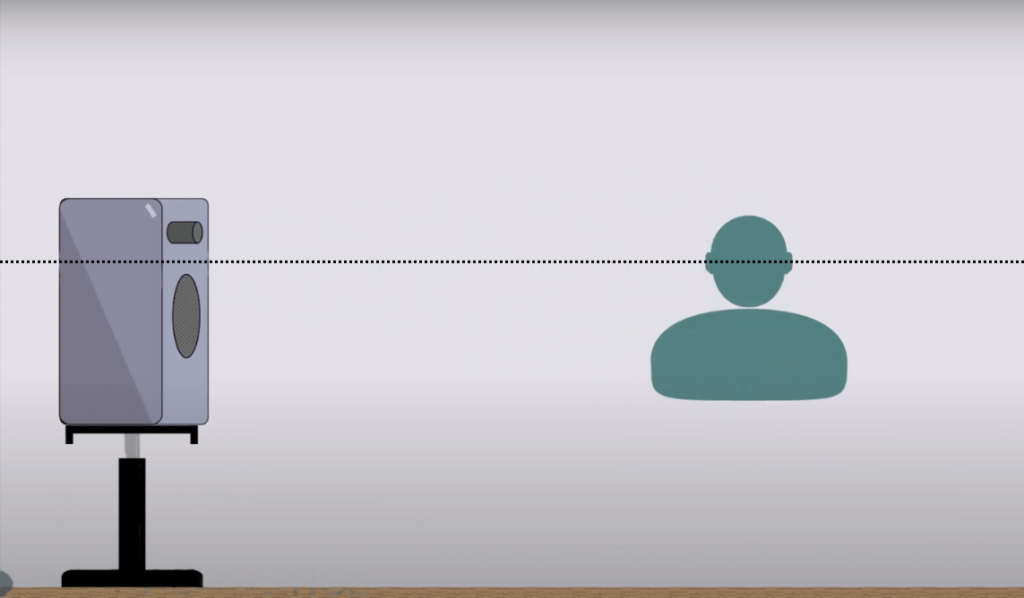
Step 2: Making Sure the Tweeters are at the Right Height
The height of your studio monitor stands is important because it affects how well you can hear the high sounds in your music. You want the tweeters (the small speakers) to be at the same height as your ears when you’re sitting down. This way, you can hear all the little details in your music and it will sound clear.

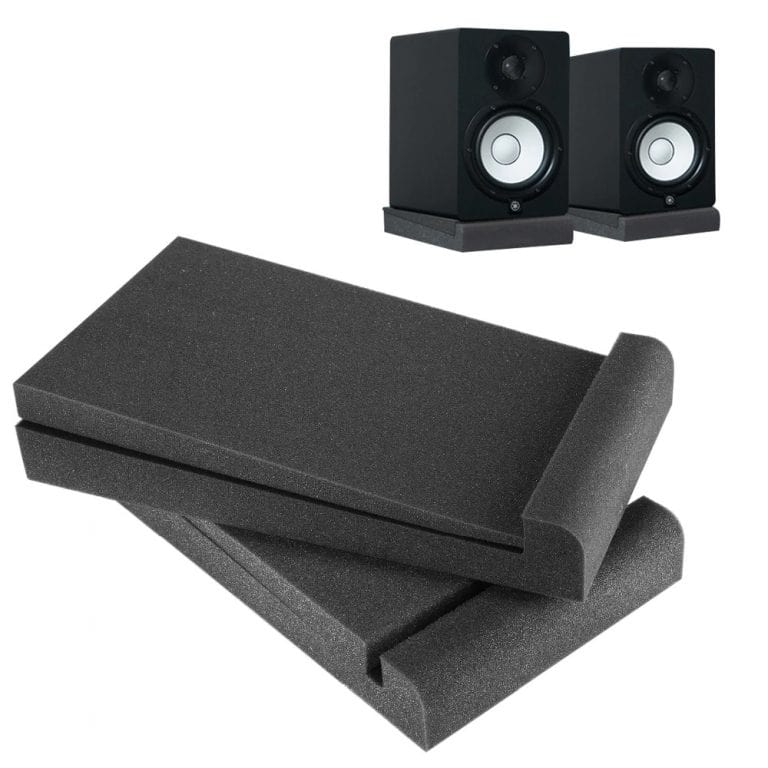
Step 3: Using Isolation Pads to Reduce Noise
Putting something called isolation pads or decoupling devices under your monitors might seem small, but it makes a big difference. These pads help reduce vibrations and stop unwanted noise from going between the monitors and stands. This makes your music sound cleaner and more accurate.

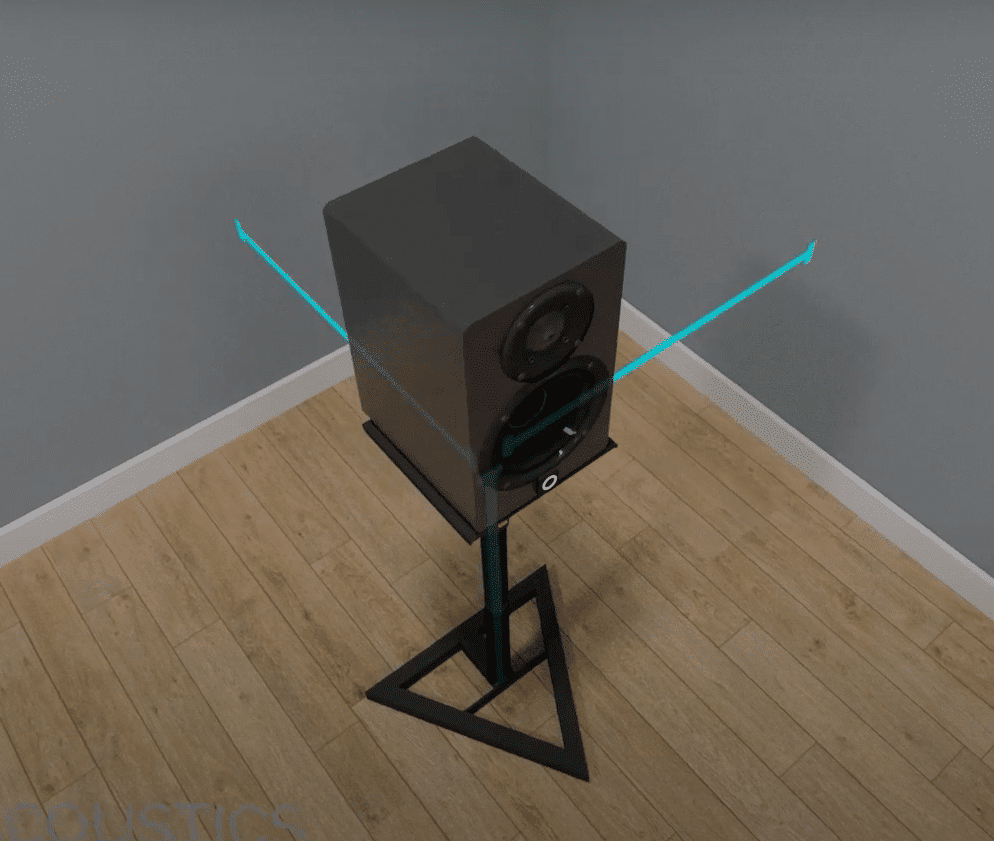
Step 4: Adjusting the Angle of the Monitors
Think of this step as fine-tuning your music. By angling the monitors slightly towards you, you can improve how the music sounds. It makes the different sounds in your music come from the right place and makes it sound better. It’s like finding the perfect angle for a picture.

Step 5: Keeping the Monitors Away from Walls
Bass sounds can bounce off walls and make your music sound weird. To fix this, you want to keep your monitors a few feet away from the walls. This way, the bass sounds can move around better and your music will sound more accurate. It’s like giving the bass sound room to breathe.

Step 6: Making Your Room Sound Better
Think of this step as adding the final touches to your music. You can use things like bass traps, diffusers, and absorbers to make your room sound better. These things help control how the sound moves around the room. By doing this, you can make sure your music sounds the best it can.
Extra Tips to Make Your Setup Even Better
Room Mode Analysis: Understanding Your Room
Before adjusting your studio monitor stands, it’s a good idea to analyze your room. This helps you understand how the sound moves around and find any problems. With this information, you can place your monitors and other things in the right spots for the best sound.
Nearfield vs. Midfield Monitoring: Choosing the Right Setup
It’s important to know the difference between near-field and midfield monitoring. Nearfield monitoring is when you’re close to the speakers, and it gives you a more detailed sound. Midfield monitoring is when the speakers are farther away, and it’s better for bigger rooms. Choosing the right setup for your room will make your monitor stand work even better.
Adjusting Speaker Tilt and Positioning
Changing the tilt of your speakers can make the sound better. It helps the different sounds in your music line up and makes them sound more together. This way, you can hear everything in your music with more detail.
Getting accurate sound in your studio is all about paying attention to the details. Adjusting your studio monitor stands is an important part of this process. By following the steps in this guide and looking at the pictures, you can make your studio monitors sound the best they can. Remember, having a good setup not only makes your music sound better, but it also makes it sound good on different speakers.


